So, you’ve done it. You’ve made the bold (and probably slightly tipsy) decision to buy a vineyard. Maybe the idea of walking through rows of lush grapevines under the golden sun has enchanted you. Here you are, standing on fertile land, ready to transform it into a thriving wine estate. But where do you start?
Don’t worry — we’ve got the grapes of wisdom you need. Let’s uncork this adventure together, and before you know it, you’ll be bottling your own vintage.
Step 1: Know Your Grapes (Literally)
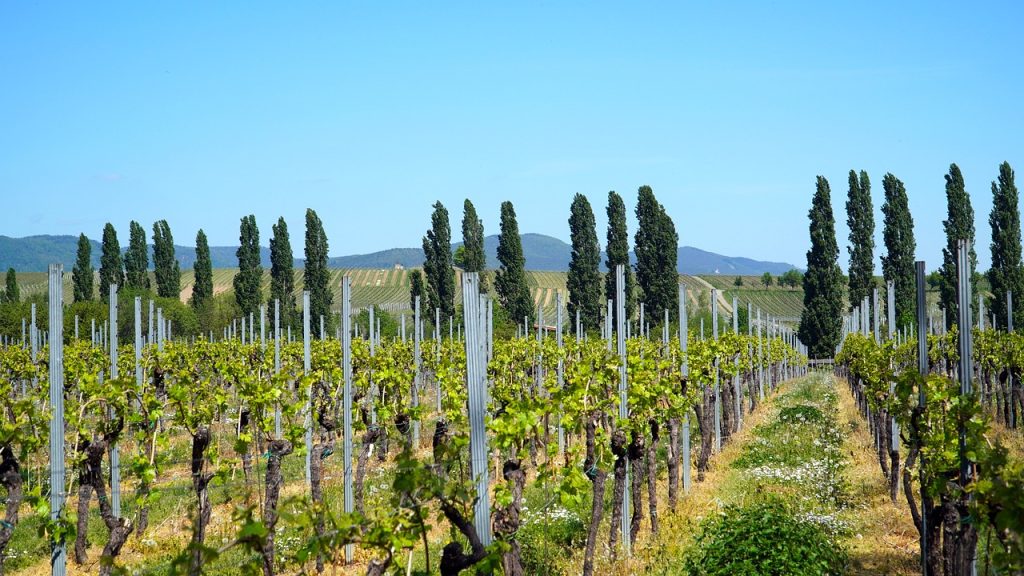
First things first, you need to figure out what grapes to grow. Not all grapes are created equal, and you can’t just plant whatever sounds fancy. The type of grape you choose will depend on your vineyard’s soil, climate, and general vibe (yes, vines have vibes).
- Match the climate with the grape variety. If you’re in a cooler region, opt for grapes like Pinot Noir or Riesling. Warmer climates? Go with Cabernet Sauvignon, Grenache, or Syrah. Each variety has its own preferences, much like your friends who only drink rosé or that one uncle who insists on port at every occasion.
- Soil is your friend. Grapevines thrive in well-drained soils. If your soil holds too much water, your grapes may suffer from “wet feet,” and no one wants soggy grapes (unless you’re planning to make grape juice, but that’s a whole different story).
Let nature guide you!
Step 2: Nurture the Vines Like They’re Your Babies
Now that you’ve got your grape varieties figured out, it’s time to play caretaker to your vines. Much like children, vines need lots of attention, but don’t worry, they won’t cry at 2 AM.
- Pruning is key. You’ll need to trim and train your vines, much like shaping a bonsai tree (except with the added bonus of wine). Pruning helps concentrate the vine’s energy on producing quality grapes rather than a jungle of leaves.
- Irrigation or dry farming? Some winemakers swear by dry farming, where the vines rely solely on natural rainfall, leading to more concentrated grapes. Others prefer a bit of irrigation. Either way, balance is key. Too much water, and your grapes will be bloated. Too little, and they’ll be stressed out — and who wants to sip on stressed-out wine?
If you’re diving into organic or biodynamic farming (you trendy thing, you), you might want to check out our article on the difference between organic and biodynamic wines to see how these methods can affect your vine care.
Step 3: Harvest Time – Don’t Mess It Up
Harvest season is the moment of truth. When those grapes are finally ready, you’ll need to gather them quickly but carefully. It’s like the Great Grape Race, and the stakes are high.
- Hand-picking or machine-harvesting? Hand-picking grapes is gentler and better for high-quality wines, but it’s also slower and more labor-intensive. If you’re looking for a more efficient (but less romantic) option, machine harvesting is your go-to. But beware: machines can be rough, and no one wants bruised grapes — or bruised egos.
- Timing is everything. Harvest too early, and your wine might taste like lemon juice. Too late? It’s raisin wine time. Pay attention to the sugar levels (known as Brix) and taste test regularly. Yes, this is one time when constantly nibbling on grapes is both encouraged and professional.
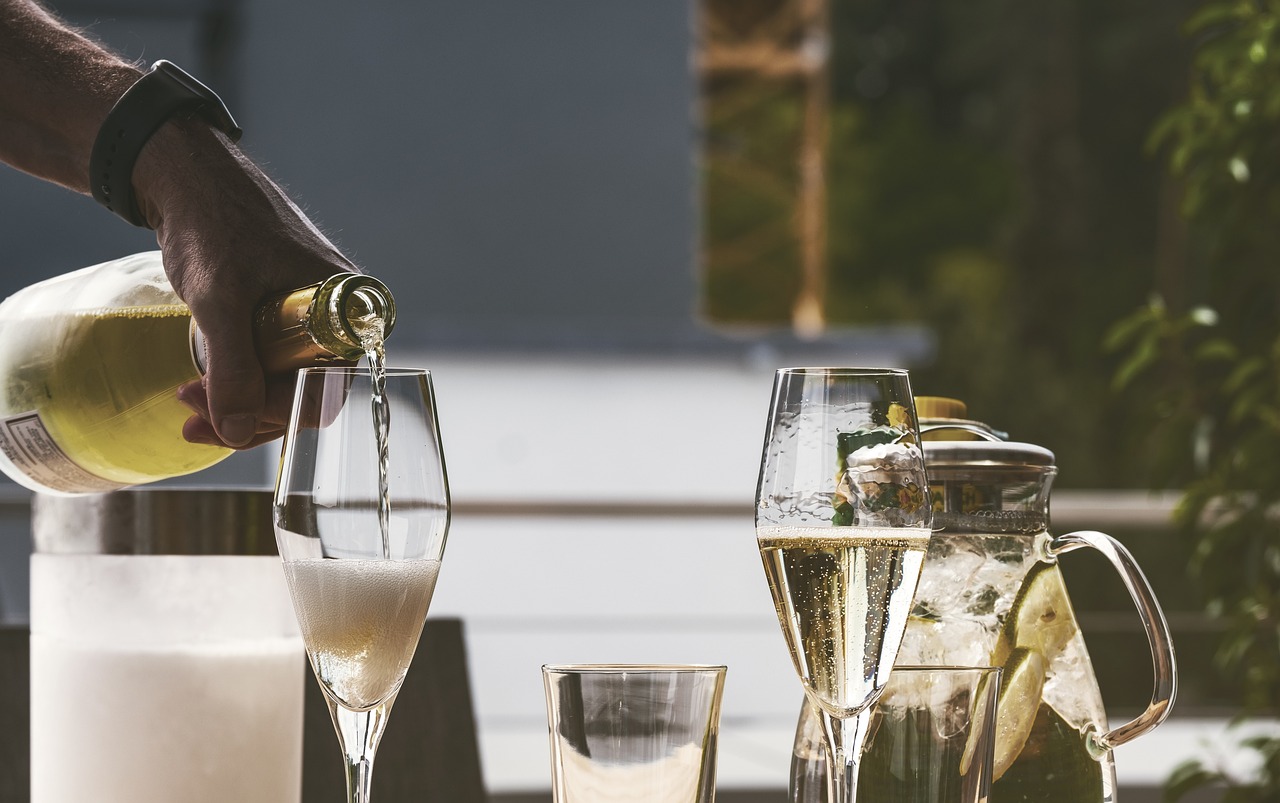
Step 4: Wine-Making – Where the Magic Happens
Here’s where the fun really begins. Once you’ve gathered your grapes, it’s time to turn them into the wine of your dreams. But don’t just start stomping on them like Lucy in that iconic episode of I Love Lucy (unless you want to, in which case, invite us over).
- Fermentation 101. Crush your grapes (again, gentle here — think massage, not mosh pit) and let the natural yeast do its thing. This is where the sugar in the grapes turns into alcohol. You can also add cultured yeast to control the process if you’re aiming for consistency.
- Aging like a fine…well, you know. Decide whether to age your wine in oak barrels, stainless steel, or concrete. Each method adds its own flair to the final product. Oak barrels give your wine those vanilla, smoky notes, while stainless steel keeps it crisp and clean. Concrete is…well, for the rebels who want to stand out.
By the way, have you heard about ancient winemaking traditions? It’s fascinating to see how winemaking has evolved from ancient methods to today’s cutting-edge techniques. Maybe you’ll even be inspired to try something new with your own vintage!
Step 5: Selling Your Wine – Time to Shine
You’ve made the wine, now it’s time to share it with the world (or at least your nearest and dearest). Here’s how to get your bottles out there:
- Build a brand. Craft a story around your vineyard. People love knowing the face behind the label. Whether it’s a funny anecdote about how you once accidentally flooded the vineyard or a heartfelt story about why you fell in love with winemaking, let your personality shine through.
- Get online. Selling your wine at farmers’ markets is great, but don’t neglect the power of e-commerce. Create a snazzy website and set up an online shop. Use social media to showcase your vineyard life — people love a good grapevine selfie!
Conclusion: From Vineyard to Wine Estate
Turning your vineyard purchase into a thriving wine estate is no small feat, but with a little care, dedication, and a lot of grape tasting (for research purposes, of course), it’s possible. Just remember: it’s not just about making great wine — it’s about creating an experience, a story, and a legacy.
Now, go forth and turn those grapes into greatness!
Sources: