At some point in almost every home winemaker’s journey, there comes a moment of optimism.
The wine is finally finished.
The fermentation drama is over.
The kitchen no longer smells faintly of bubbling fruit and questionable decisions.
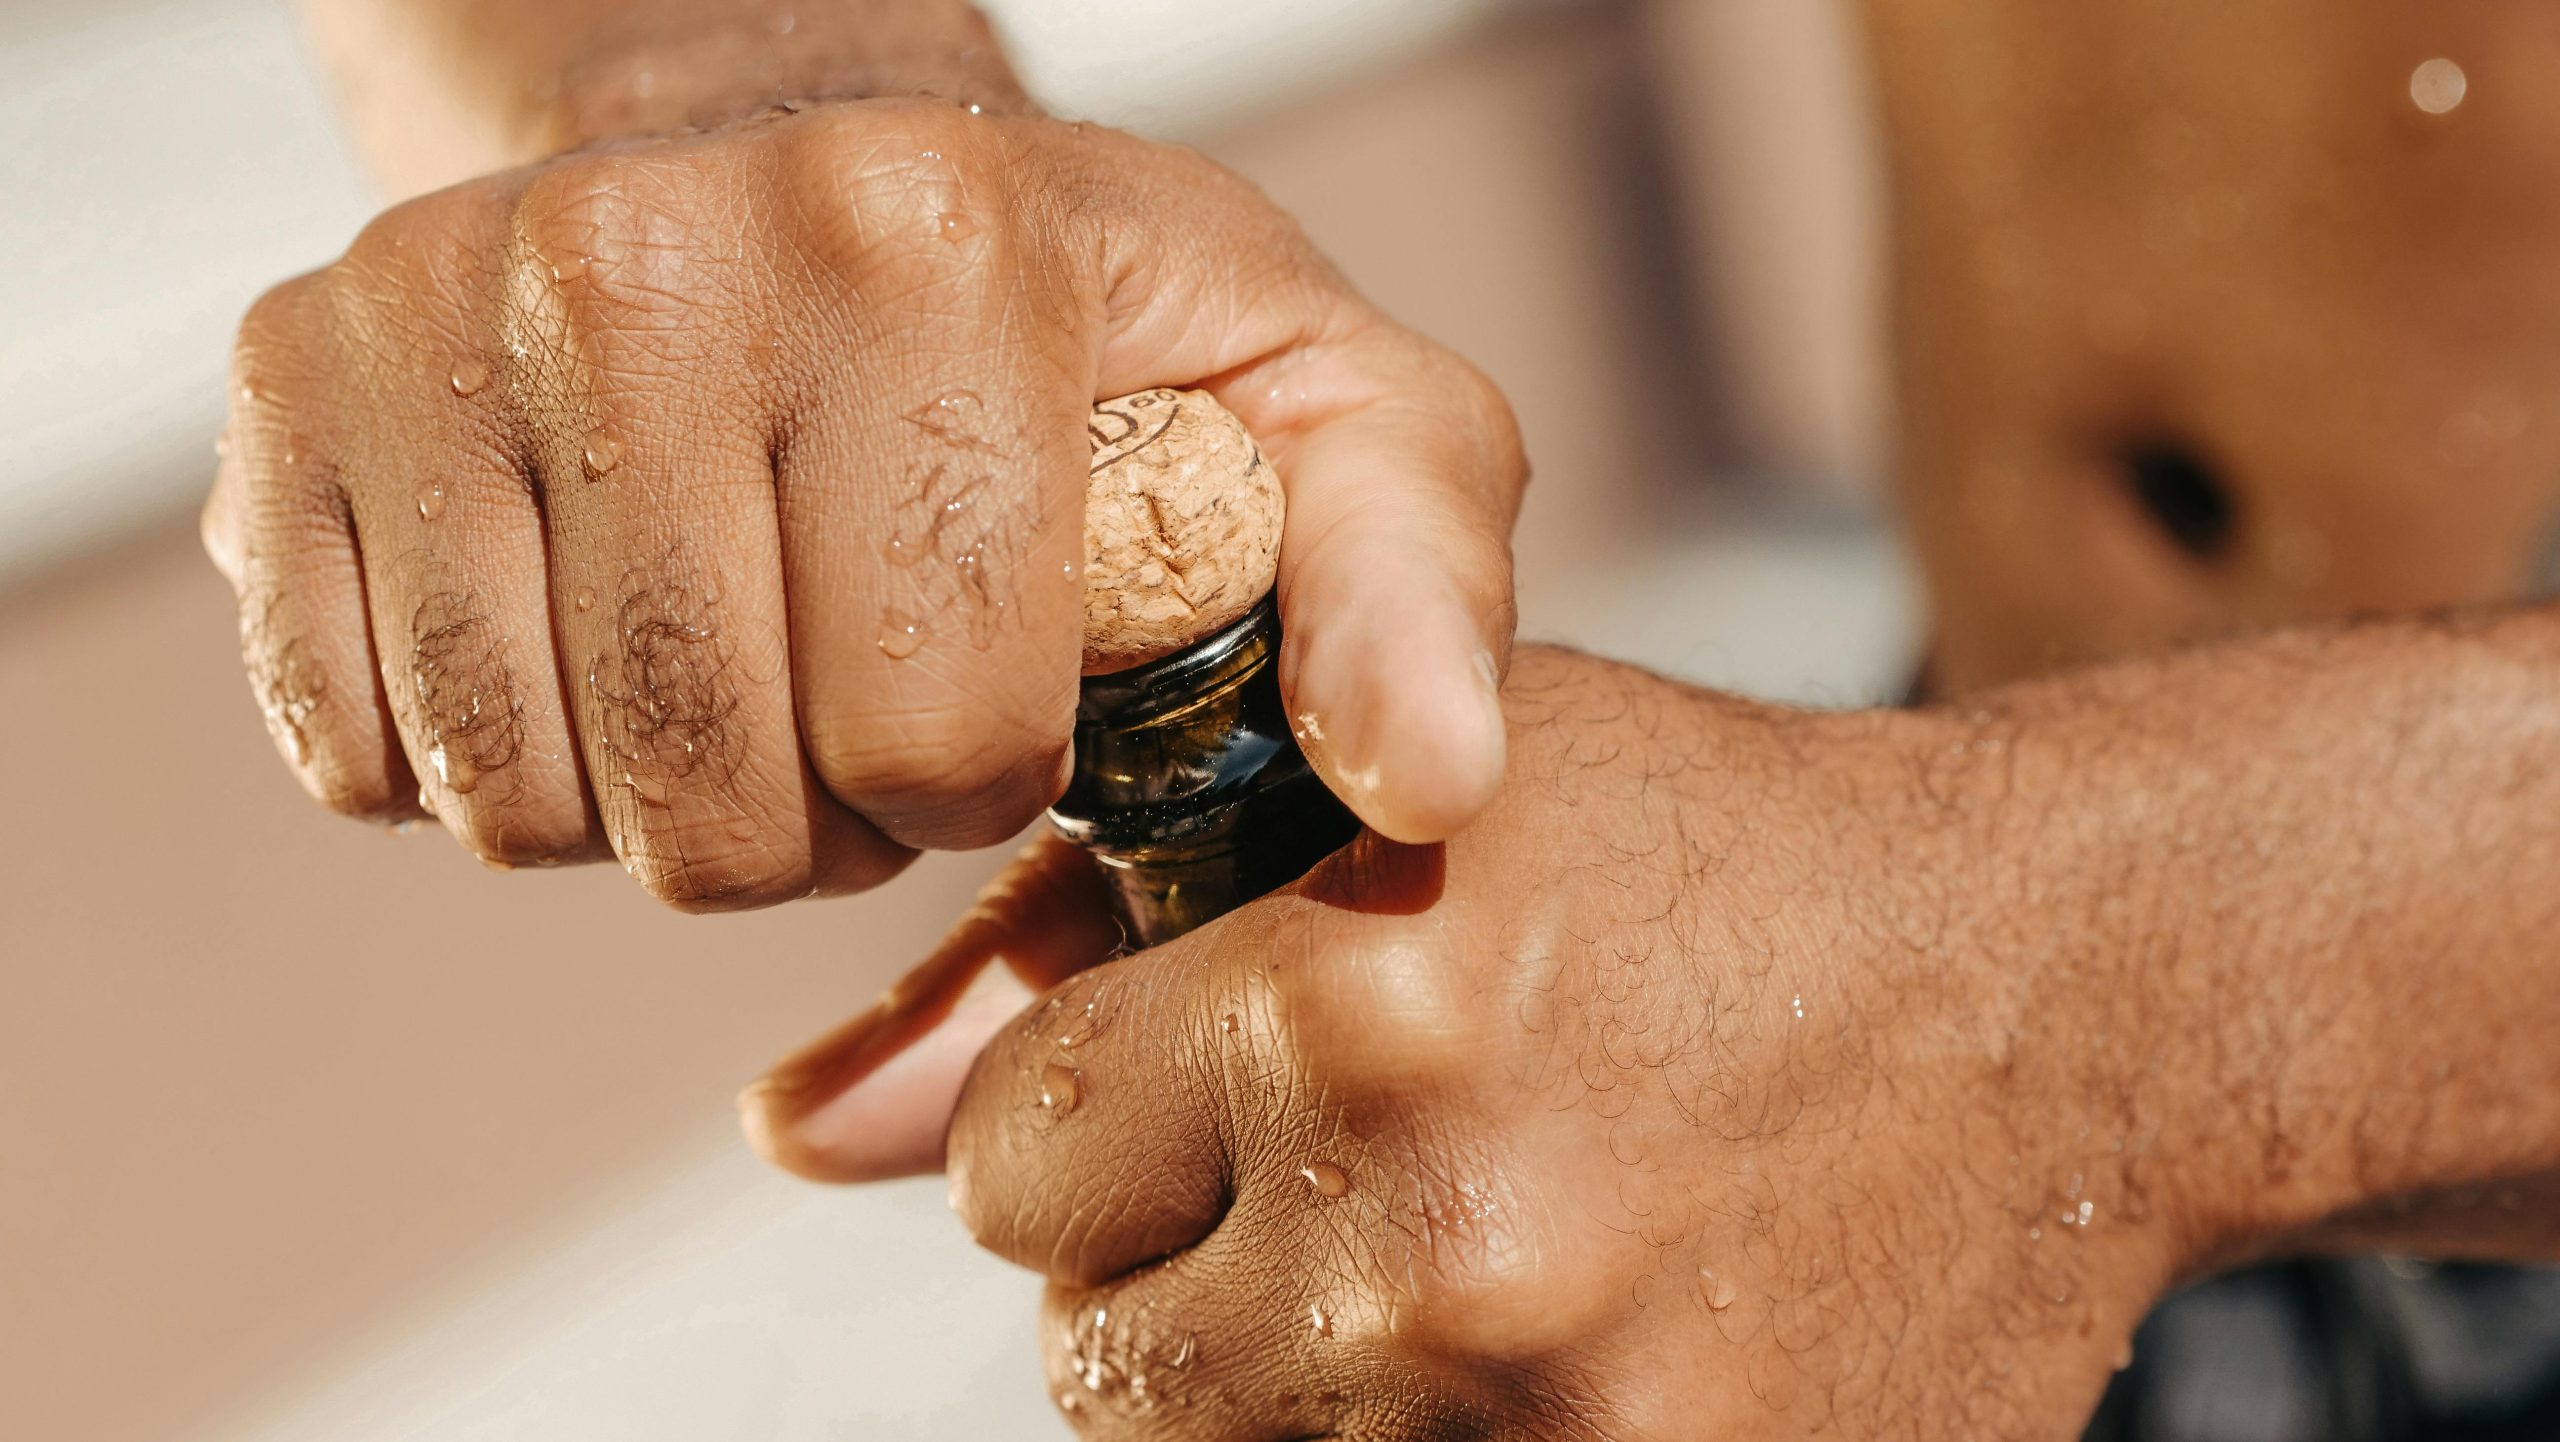
And then reality arrives in the form of a small cylindrical object known as the cork.
Corking a wine bottle sounds wonderfully simple in theory. You just put the cork in the bottle, right?
Well… yes.
But also no.
Anyone who has ever attempted to push a cork into a wine bottle by hand quickly discovers that corks possess the mysterious structural integrity of industrial machinery. What looked effortless in YouTube tutorials suddenly feels like a test of upper-body strength designed by ancient monks.
Fortunately, corking wine bottles is not particularly difficult once you understand the process — and more importantly, once you stop trying to wrestle the cork like it insulted your family.
Why Proper Corking Actually Matters
A cork does more than simply “close” the bottle.
A properly inserted cork:
- protects the wine from oxidation
- helps preserve aroma and flavor
- prevents contamination
- supports aging
- reduces leakage risks
A poorly corked bottle, on the other hand, can lead to:
- air exposure
- spoiled wine
- mold issues
- seepage
- heartbreak of the most unnecessary kind
There are few things more frustrating than spending months making wine only to discover the bottle smells like damp cardboard and regret.
Choosing the Right Cork
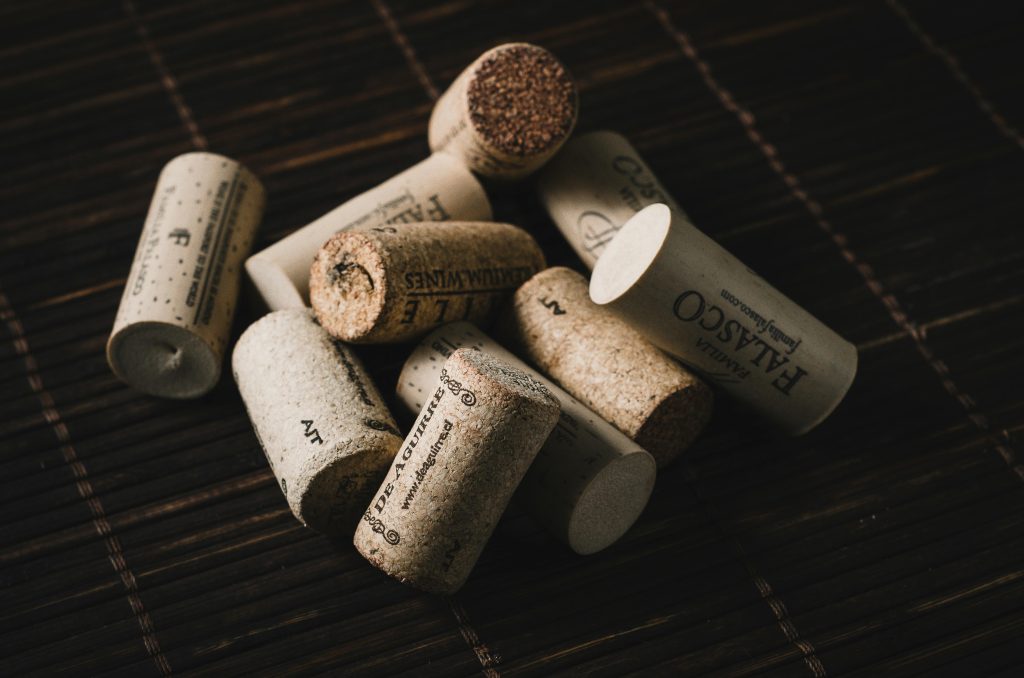
Before corking anything, it helps to understand that not all corks are created equal.
Natural Cork
Traditional natural cork is made from cork oak bark and remains popular for aging wines.
Pros:
- classic appearance
- good aging potential
- slightly romantic winemaker aesthetic
Cons:
- can be inconsistent
- risk of cork taint
- often more expensive
Natural cork works especially well for wines intended to age longer.
Synthetic Cork
Synthetic corks have improved enormously over the years.
Pros:
- consistent quality
- no cork taint
- often easier for beginners
Cons:
- may not age wine as gracefully
- sometimes harder to remove later
- occasionally squeak like stressed dolphins when opened
Many home winemakers actually prefer synthetic corks for shorter-term storage.
Agglomerated Cork
These are made from compressed cork particles.
They are usually:
- affordable
- practical
- suitable for wines meant to be consumed relatively young
For everyday homemade wines, they are often perfectly adequate.
You Need a Corker (Trust Me on This)
Technically, you can try to force corks into bottles manually.
Technically, you could also cut your lawn with scissors.
Neither approach is recommended.
A proper corker compresses the cork before inserting it into the bottle. This prevents damage to both the cork and your patience.
Hand Corkers
These are inexpensive and common among beginners.
They work reasonably well, though they sometimes require:
- arm strength
- determination
- emotional resilience
Hand corkers are perfectly suitable for small batches.
Floor Corkers
Floor corkers are the luxury sports cars of home winemaking equipment.
They are:
- easier to use
- more reliable
- faster
- gentler on corks
Once people try one, they rarely want to return to handheld versions.
There is something deeply satisfying about a floor corker. It makes you feel unexpectedly professional, even if you are bottling wine in slippers while the dog watches suspiciously.
Preparing the Corks
This is where many beginners accidentally create problems.
Older winemaking advice often recommended soaking corks in boiling water. Modern cork manufacturers generally discourage this because excessive moisture can damage cork structure and increase contamination risk.
Instead:
- use clean hands
- keep corks sanitary
- follow manufacturer recommendations
- avoid excessive soaking
Some winemakers lightly sanitize corks with sulfite solution if needed, but many modern corks come ready to use.
The goal is cleanliness, not turning the cork into soup.
How to Cork the Bottle Properly
The actual corking process is straightforward once everything is prepared.
Step 1: Fill the Bottle Correctly
Leave appropriate headspace.
Generally:
- around 1 inch (2.5 cm) below the cork is ideal
Too much air increases oxidation risk.
Too little space can create pressure issues.
Wine bottles are surprisingly opinionated about balance.
Step 2: Position the Cork
Place the cork into the corker according to the device instructions.
Ensure:
- the bottle stands securely
- the cork is aligned properly
- you are not attempting this on a wobbly chair at midnight
Step 3: Insert the Cork Smoothly
Apply steady pressure.
Do not:
- rush
- twist aggressively
- panic halfway through
A properly functioning corker should insert the cork cleanly and evenly.
The cork should sit:
- flush with the bottle top
or - very slightly raised
Not halfway sideways like a failed engineering experiment.
Step 4: Let the Bottles Rest
After corking, many winemakers keep bottles upright for 24–48 hours.
This allows:
- the cork to expand fully
- pressure stabilization
- any compression effects to settle
Afterward, bottles intended for aging are usually stored horizontally to keep the cork moist.
Common Corking Mistakes
Using Dry or Damaged Corks
Old corks can crack or fail.
If corks look:
- brittle
- crumbly
- oddly shrunken
replace them.
Wine deserves better than recycled cork archaeology.
Overfilling Bottles
Too much wine creates pressure against the cork.
This may cause:
- leakage
- cork movement
- oxidation problems later
Poor Sanitation
As with nearly all winemaking:
cleanliness matters enormously.
Always sanitize:
- bottles
- corkers
- tubing
- siphons
- work surfaces
Tiny contaminants can create surprisingly large disasters.
Using the Wrong Bottle Type
Not all glass bottles are designed for corks.
Some thinner decorative bottles may:
- crack
- seal poorly
- resist standard cork sizes
Standard wine bottles are safest for beginners.
What About Screw Caps?
This is where wine conversations occasionally become emotional.
Some people still associate screw caps with cheap wine, though modern winemaking increasingly proves otherwise.
In reality:
- screw caps can preserve freshness extremely well
- many excellent wines use them
- they eliminate cork taint risk
But cork still carries a certain romance.
There is something satisfying about:
- hearing the pop
- using a corkscrew
- pretending briefly that you understand tannins at a professional level
Tradition matters too.
Corking Homemade Wine Feels Surprisingly Rewarding
There is a very specific feeling that comes when you cork your first successful bottle of homemade wine.
The bottle suddenly feels real.
Not “grape juice in a fermentation experiment,” but actual wine.
- Something worth sharing.
- Something worth aging.
- Something that might even impress friends — assuming you do not immediately tell them about the batch that exploded in the closet last year.
Corking marks the moment where winemaking changes from process into product.
And honestly, that moment never gets entirely old.
Final Thoughts
Learning how to cork a wine bottle properly is one of those small skills that makes an enormous difference in home winemaking.
The good news is that it becomes easy surprisingly quickly.
With:
- proper corks
- clean bottles
- a decent corker
- basic patience
you can produce bottles that look professional and store beautifully.
And while the process may seem intimidating at first, most winemakers eventually discover something comforting:
The hardest part of corking wine is usually resisting the urge to open the bottle immediately afterward.