Dreaming of crafting your own wine from grapes grown in your backyard vineyard? Starting a small vineyard is a rewarding and enjoyable project. With patience, attention to detail, and a little space, you can grow your own grapes and turn them into bottles of wine that are truly yours. Let’s break down how to turn a small plot into a thriving vineyard, from the ground up.
1. Assess Your Space and Climate
Before planting, the first thing you need to evaluate is whether your backyard is suitable for grapevines. Grapes love sunlight, so your site needs to have plenty of direct exposure. In general, grapevines require at least 6 to 8 hours of sunlight each day. Ideally, you’ll want a spot that faces south or west, where it will receive the most sunlight.
Additionally, grapes grow best in temperate climates. That doesn’t mean you can’t grow grapes elsewhere, but different regions suit different types of grapes. Consider researching grape varieties that grow well in your local area. For example, cool regions are ideal for grapes like Pinot Noir, while warm climates are better suited for Cabernet Sauvignon or Zinfandel.
If you’re unsure about your specific climate, check your area’s USDA hardiness zone or consult local agricultural experts to determine the best types of grapes for your region.
2. Choose the Right Grapevines
Not all grapevines are created equal. When choosing grape varieties, you need to think about what kind of wine you want to produce, but also what grows well in your specific climate. Here are some common grape types based on climate:
- Cool climates: Pinot Noir, Chardonnay, Riesling
- Moderate climates: Merlot, Sauvignon Blanc, Sangiovese
- Warm climates: Cabernet Sauvignon, Syrah, Grenache
You also need to decide whether you want to grow table grapes (for eating) or wine grapes (for winemaking). Wine grapes have thicker skins and higher sugar content, which are essential for fermentation.
Another key decision is choosing between seeded and seedless varieties. Wine grapes are usually seeded, while seedless grapes are typically grown for eating.

3. Prepare the Soil In Your Backyard Vineyard
Healthy soil is the backbone of any vineyard, and grapevines aren’t particularly picky, but they thrive best in well-draining soil with a slightly acidic pH (between 5.5 and 6.5). Before planting, it’s a good idea to test your soil’s pH level and nutrient content. You can buy soil testing kits online or take a sample to your local agricultural extension office for analysis.
If your soil isn’t ideal, don’t worry. There are plenty of ways to amend it. Add compost or organic matter to improve its structure and nutrient levels. If the soil is too alkaline, you can lower the pH by adding sulfur or other acidifying agents.
Also, make sure the area you choose drains well. Grape roots don’t like sitting in water, so if your soil tends to be heavy or clay-like, you may need to build raised beds or incorporate gravel for better drainage.
4. Set Up a Trellis System
Grapevines are climbers, which means they need support to grow properly. This is where a trellis system comes in. A trellis allows the vine to grow vertically, keeps the fruit off the ground, and makes it easier to manage and harvest.
There are several types of trellis systems to choose from, but the simplest is a two-wire trellis. Here’s how to set it up:
- Drive posts into the ground about 6-8 feet apart.
- Run a horizontal wire between the posts about 3 feet off the ground for the first level.
- Add a second wire about 5-6 feet off the ground for the top level.
As the grapevine grows, you’ll need to train it to grow along these wires. Regular pruning is essential to keep the vines manageable and ensure healthy fruit production.

5. Planting Your Grapevines
Once your trellis is set up and your soil is prepared, it’s time to plant. The best time to plant grapevines is in early spring, after the last frost. Dig a hole for each vine deep enough to accommodate the root system—about 12 inches is a good rule of thumb.
Space the vines about 6-8 feet apart to allow them plenty of room to grow. Water them thoroughly after planting and mulch around the base to retain moisture.
For the first year, your main focus should be on training the vines. Keep them pruned and allow the roots to establish themselves. Don’t expect a harvest in the first year—grapes take time, and your first real crop will come in the second or third year.
6. Care and Maintenance
Starting a vineyard is just the beginning. To keep it healthy and productive, you’ll need to stay on top of vine care.
- Pruning: Pruning is essential to controlling growth and ensuring your vine puts energy into producing high-quality fruit. Prune in late winter or early spring before new growth begins.
- Watering: Grapevines are surprisingly drought-tolerant once established. During the first year, water regularly to help the vines get established. After that, you can cut back to watering during dry spells.
- Fertilizing: Grapevines don’t need much fertilizing. A light application of a balanced fertilizer (10-10-10) in early spring should suffice.

7. Pest and Disease Control
Unfortunately, grapevines are not immune to pests and diseases. Common issues include powdery mildew, downy mildew, and various insects like grapevine moths or Japanese beetles. To keep your vines healthy, it’s important to monitor for any signs of problems early on.
Using organic methods such as companion planting (growing plants that repel pests near your vines) or introducing natural predators can help control pests without harsh chemicals. In the case of fungal issues, make sure your vines have good air circulation by not overcrowding them and pruning regularly.
8. Harvesting Your Grapes
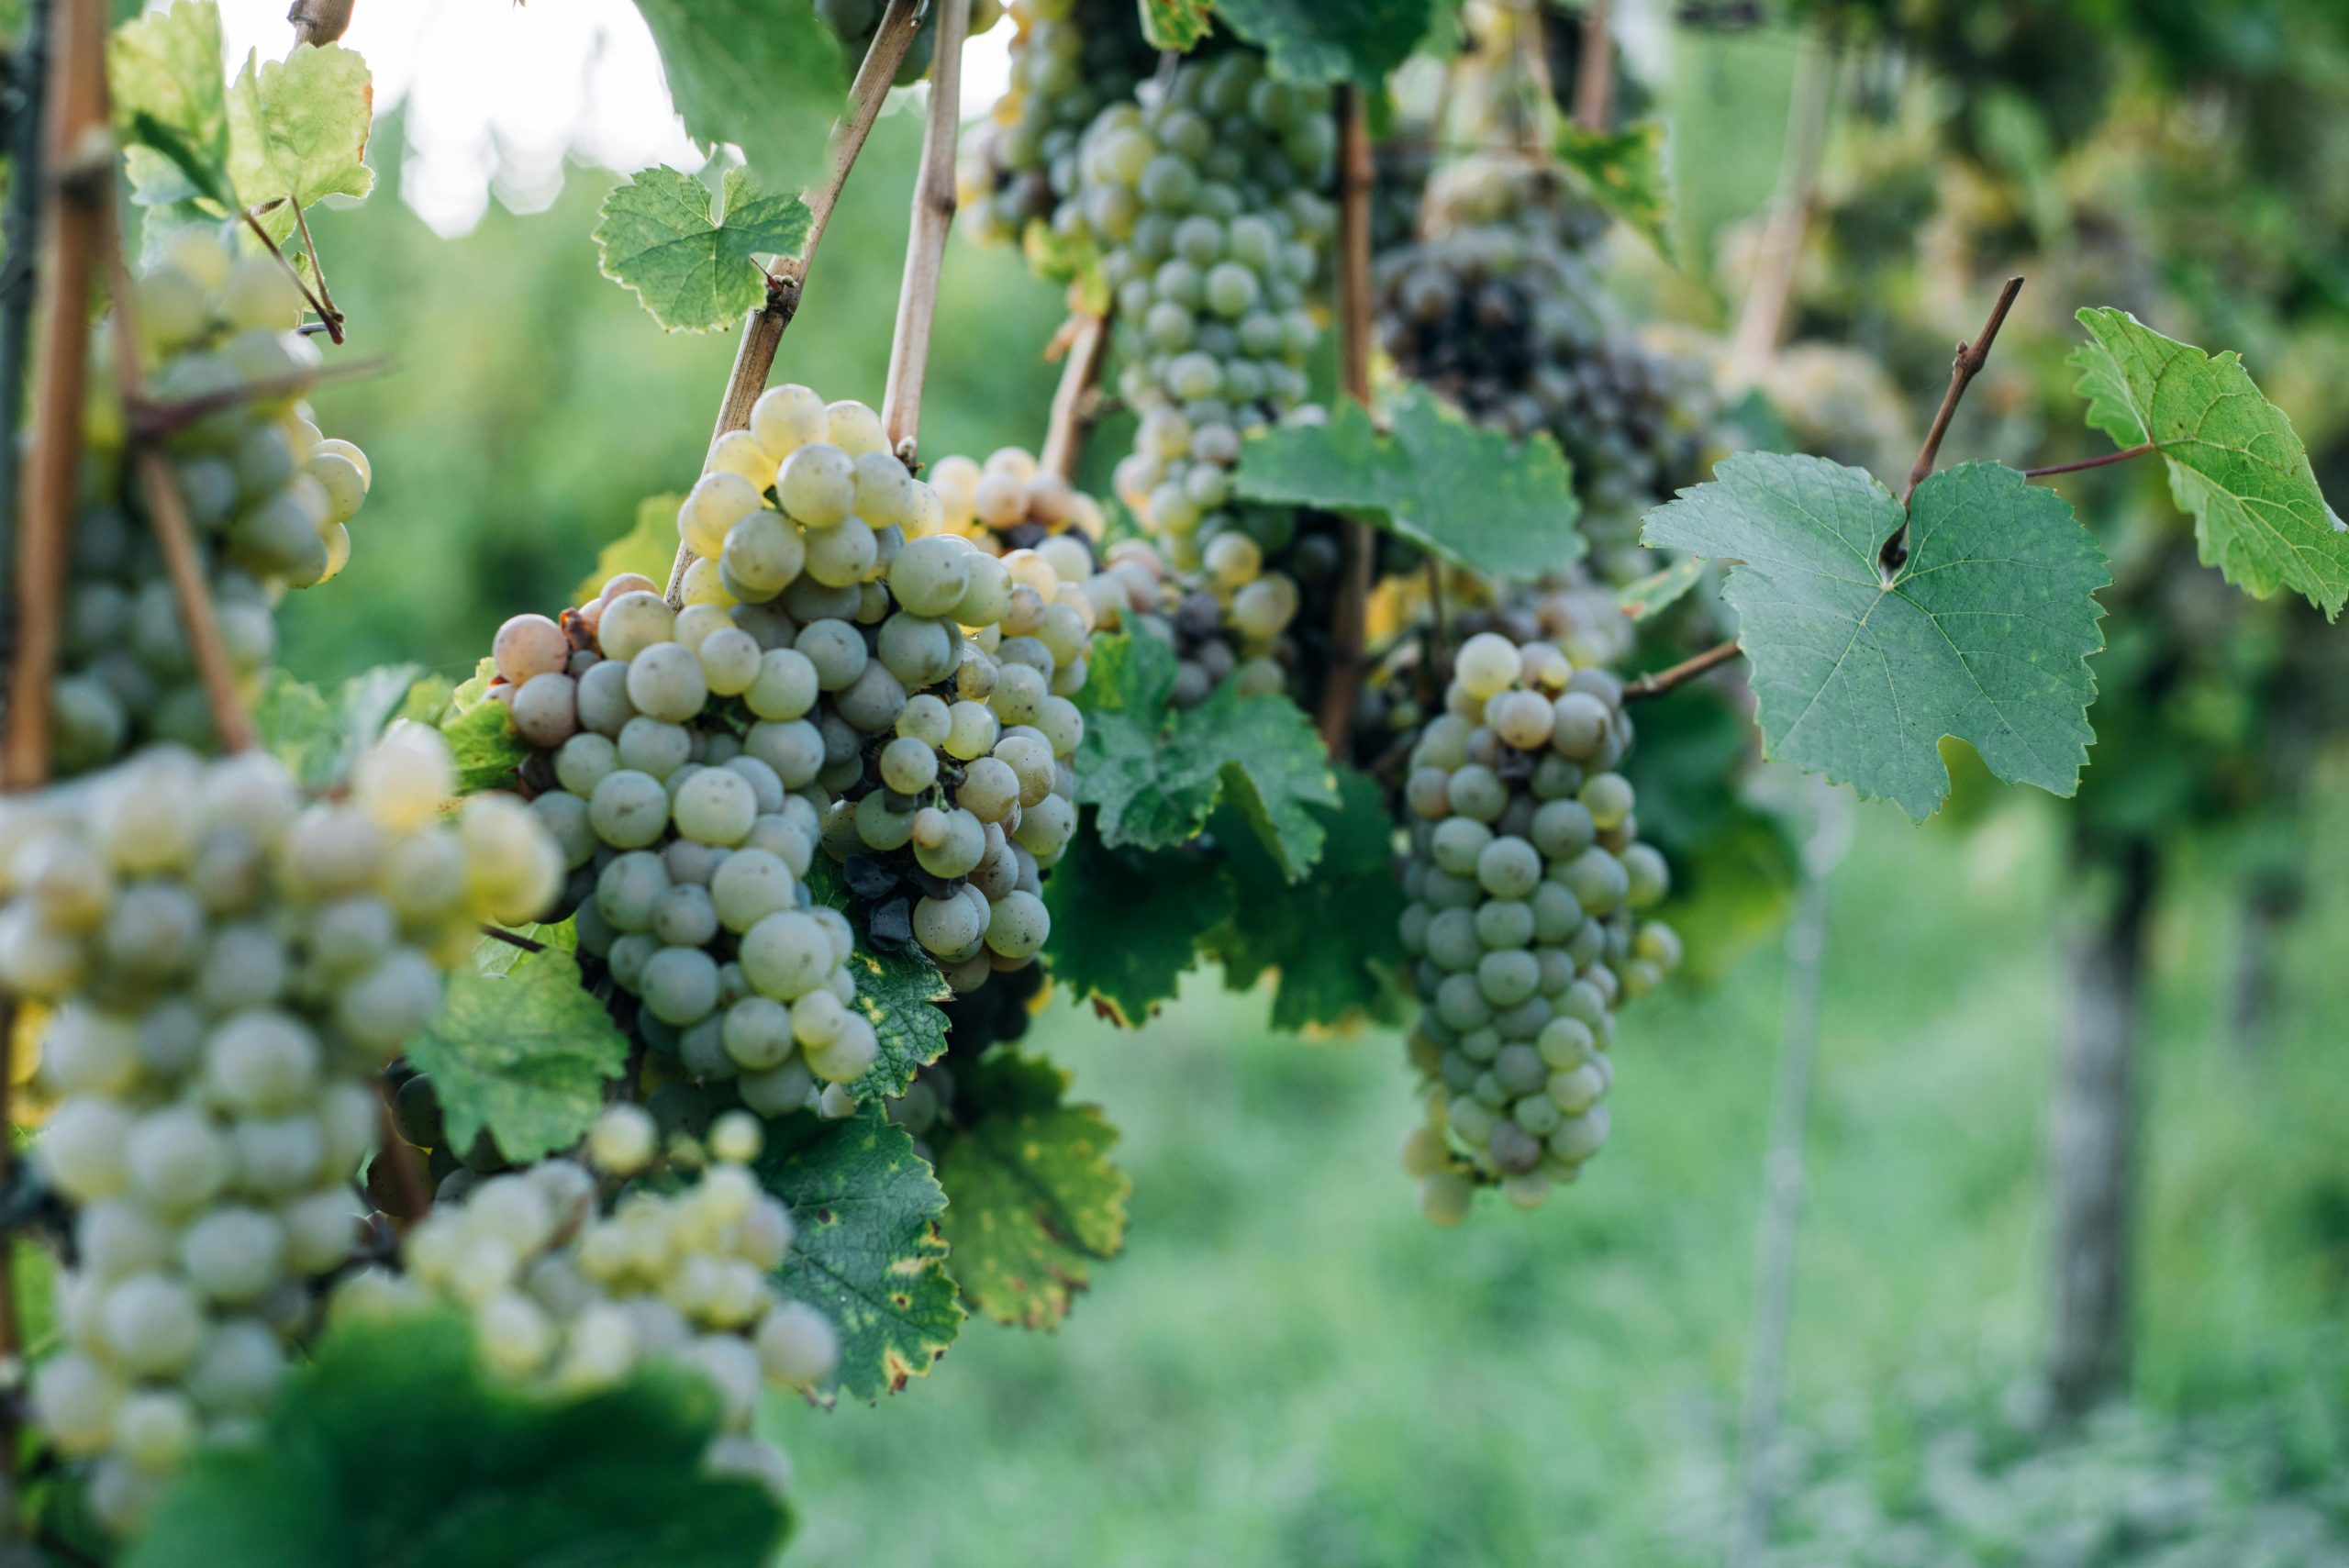
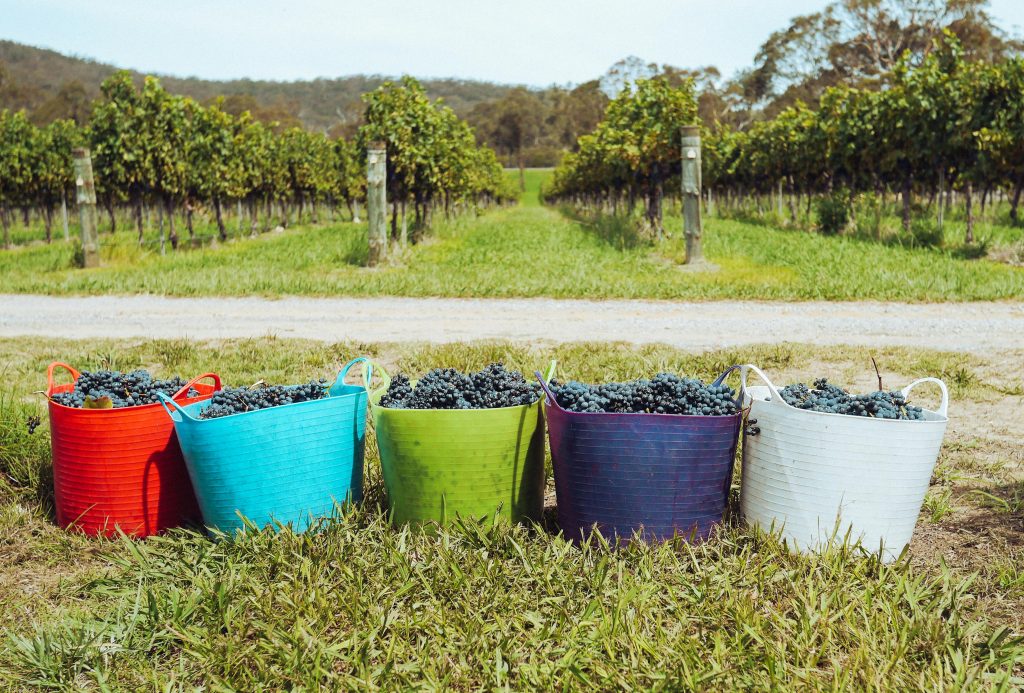
By the second or third year, you’ll finally be ready to harvest the grapes from your backyard vineyard. Grapes are usually ready for picking in late summer or early fall, depending on the variety. The best way to know if your grapes are ready is by tasting them. The grapes should be sweet, flavorful, and fully colored.
Use sharp pruning shears to cut the grape clusters from the vine, being careful not to damage the plant. And now comes the fun part—wine making!
9. Making Wine at Home
Once you’ve harvested your grapes, you can start turning them into wine. You don’t need a lot of fancy equipment, but you will need a few basics: a crusher to break open the grapes, a fermentation vessel, and bottles for aging the wine.
The process begins with crushing the grapes and allowing them to ferment. This can take anywhere from a few days to several weeks, depending on the type of wine you’re making. After fermentation, the wine is pressed to remove the skins and seeds, then aged in bottles or barrels.
Of course, making wine from your own backyard vineyard is both an art and a science, so it may take some trial and error to perfect your blend. But the satisfaction of sipping a wine made from grapes grown in your own backyard? Totally worth it.
Starting a backyard vineyard is a rewarding way to deepen your appreciation for wine. It takes time, effort, and a bit of patience, but the results—both in the wine you produce and the joy of growing it yourself—are well worth it. So, get planting, and in a few years, you’ll be raising a glass of your very own homemade wine soon.
[…] as far-fetched as it might seem. You don’t need acres of land to do it. In fact, you can turn a small backyard vineyard into a thriving little […]