Wine is more than just a drink. It’s a tradition, a story, and a celebration of nature. For many, wine has become a way to connect with the world in a new way—from discovering different kinds of grape varieties to growing a vine or two at home. You don’t have to own a sprawling vineyard to be part of this journey; even a small backyard space can bring the experience right to you.
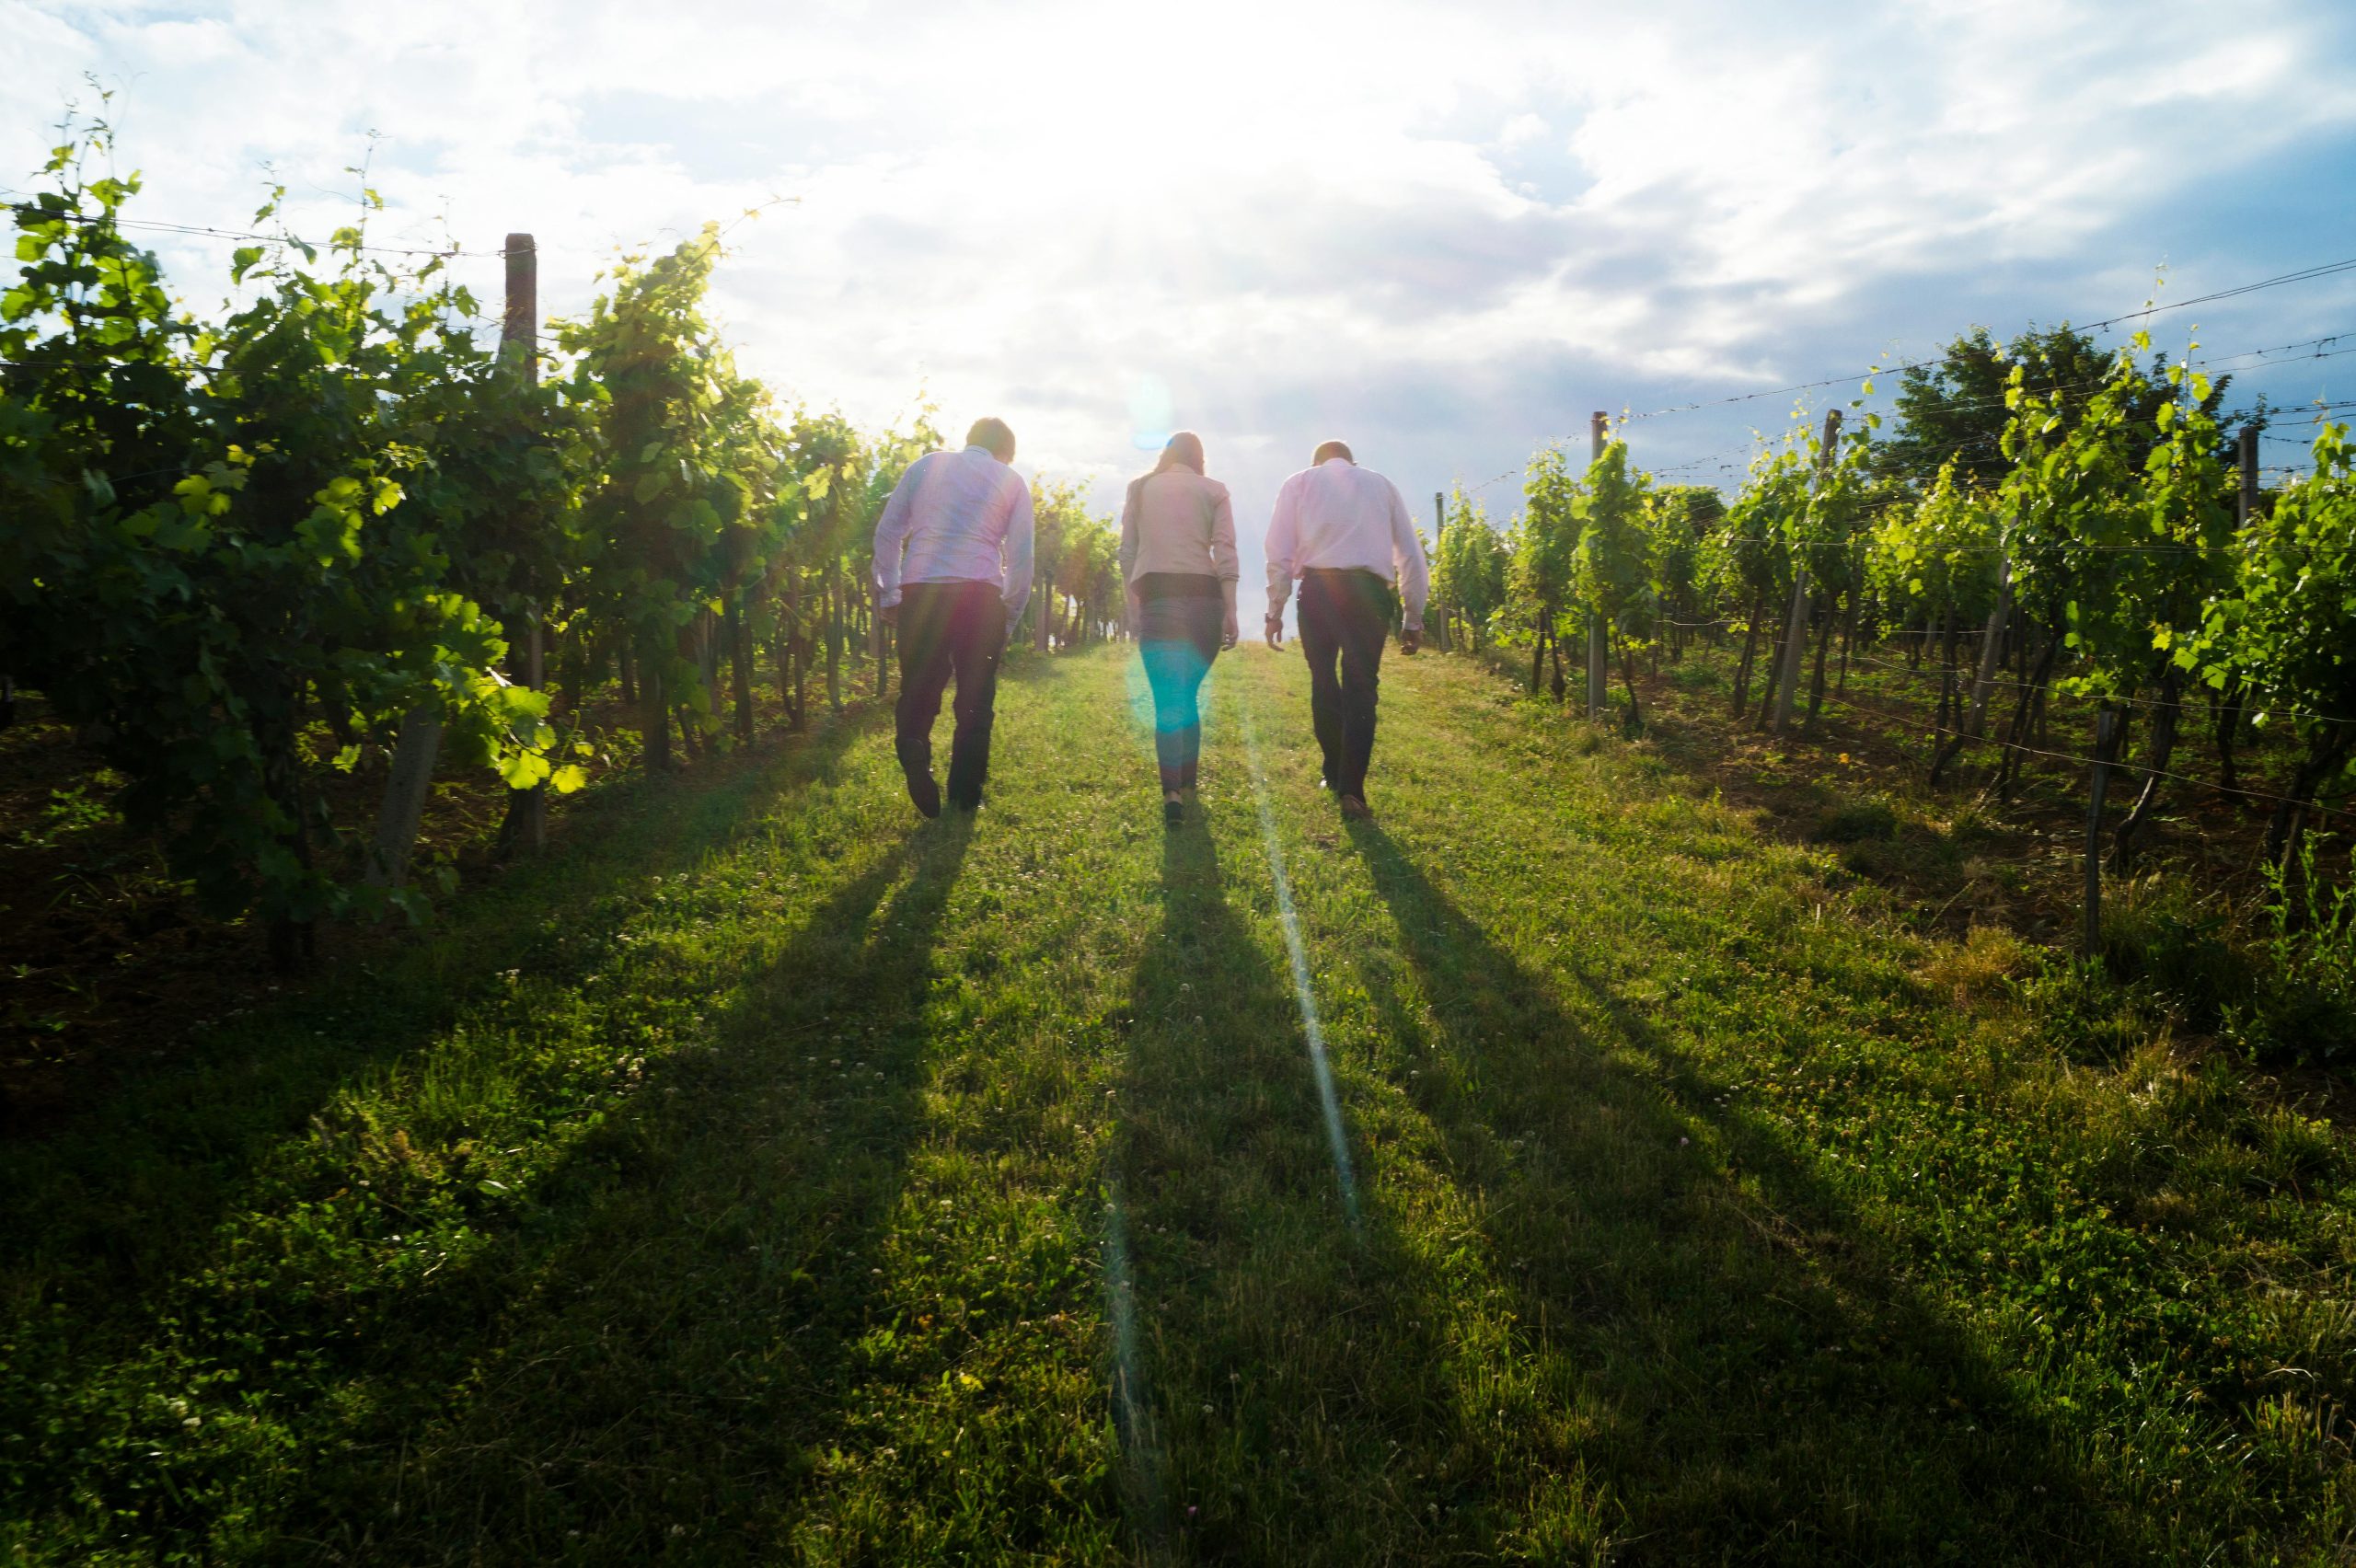
Creating a backyard vineyard isn’t just for wine enthusiasts or aspiring winemakers; it can be a fulfilling project for the whole family. Growing grapes teaches kids and adults alike about nature, patience, and the joy of nurturing something together. You don’t have to become a winemaker to appreciate the beauty of watching vines grow through the seasons. A backyard vineyard could even become a lasting family tradition.
A Family Project to Grow On: Why a Backyard Vineyard?
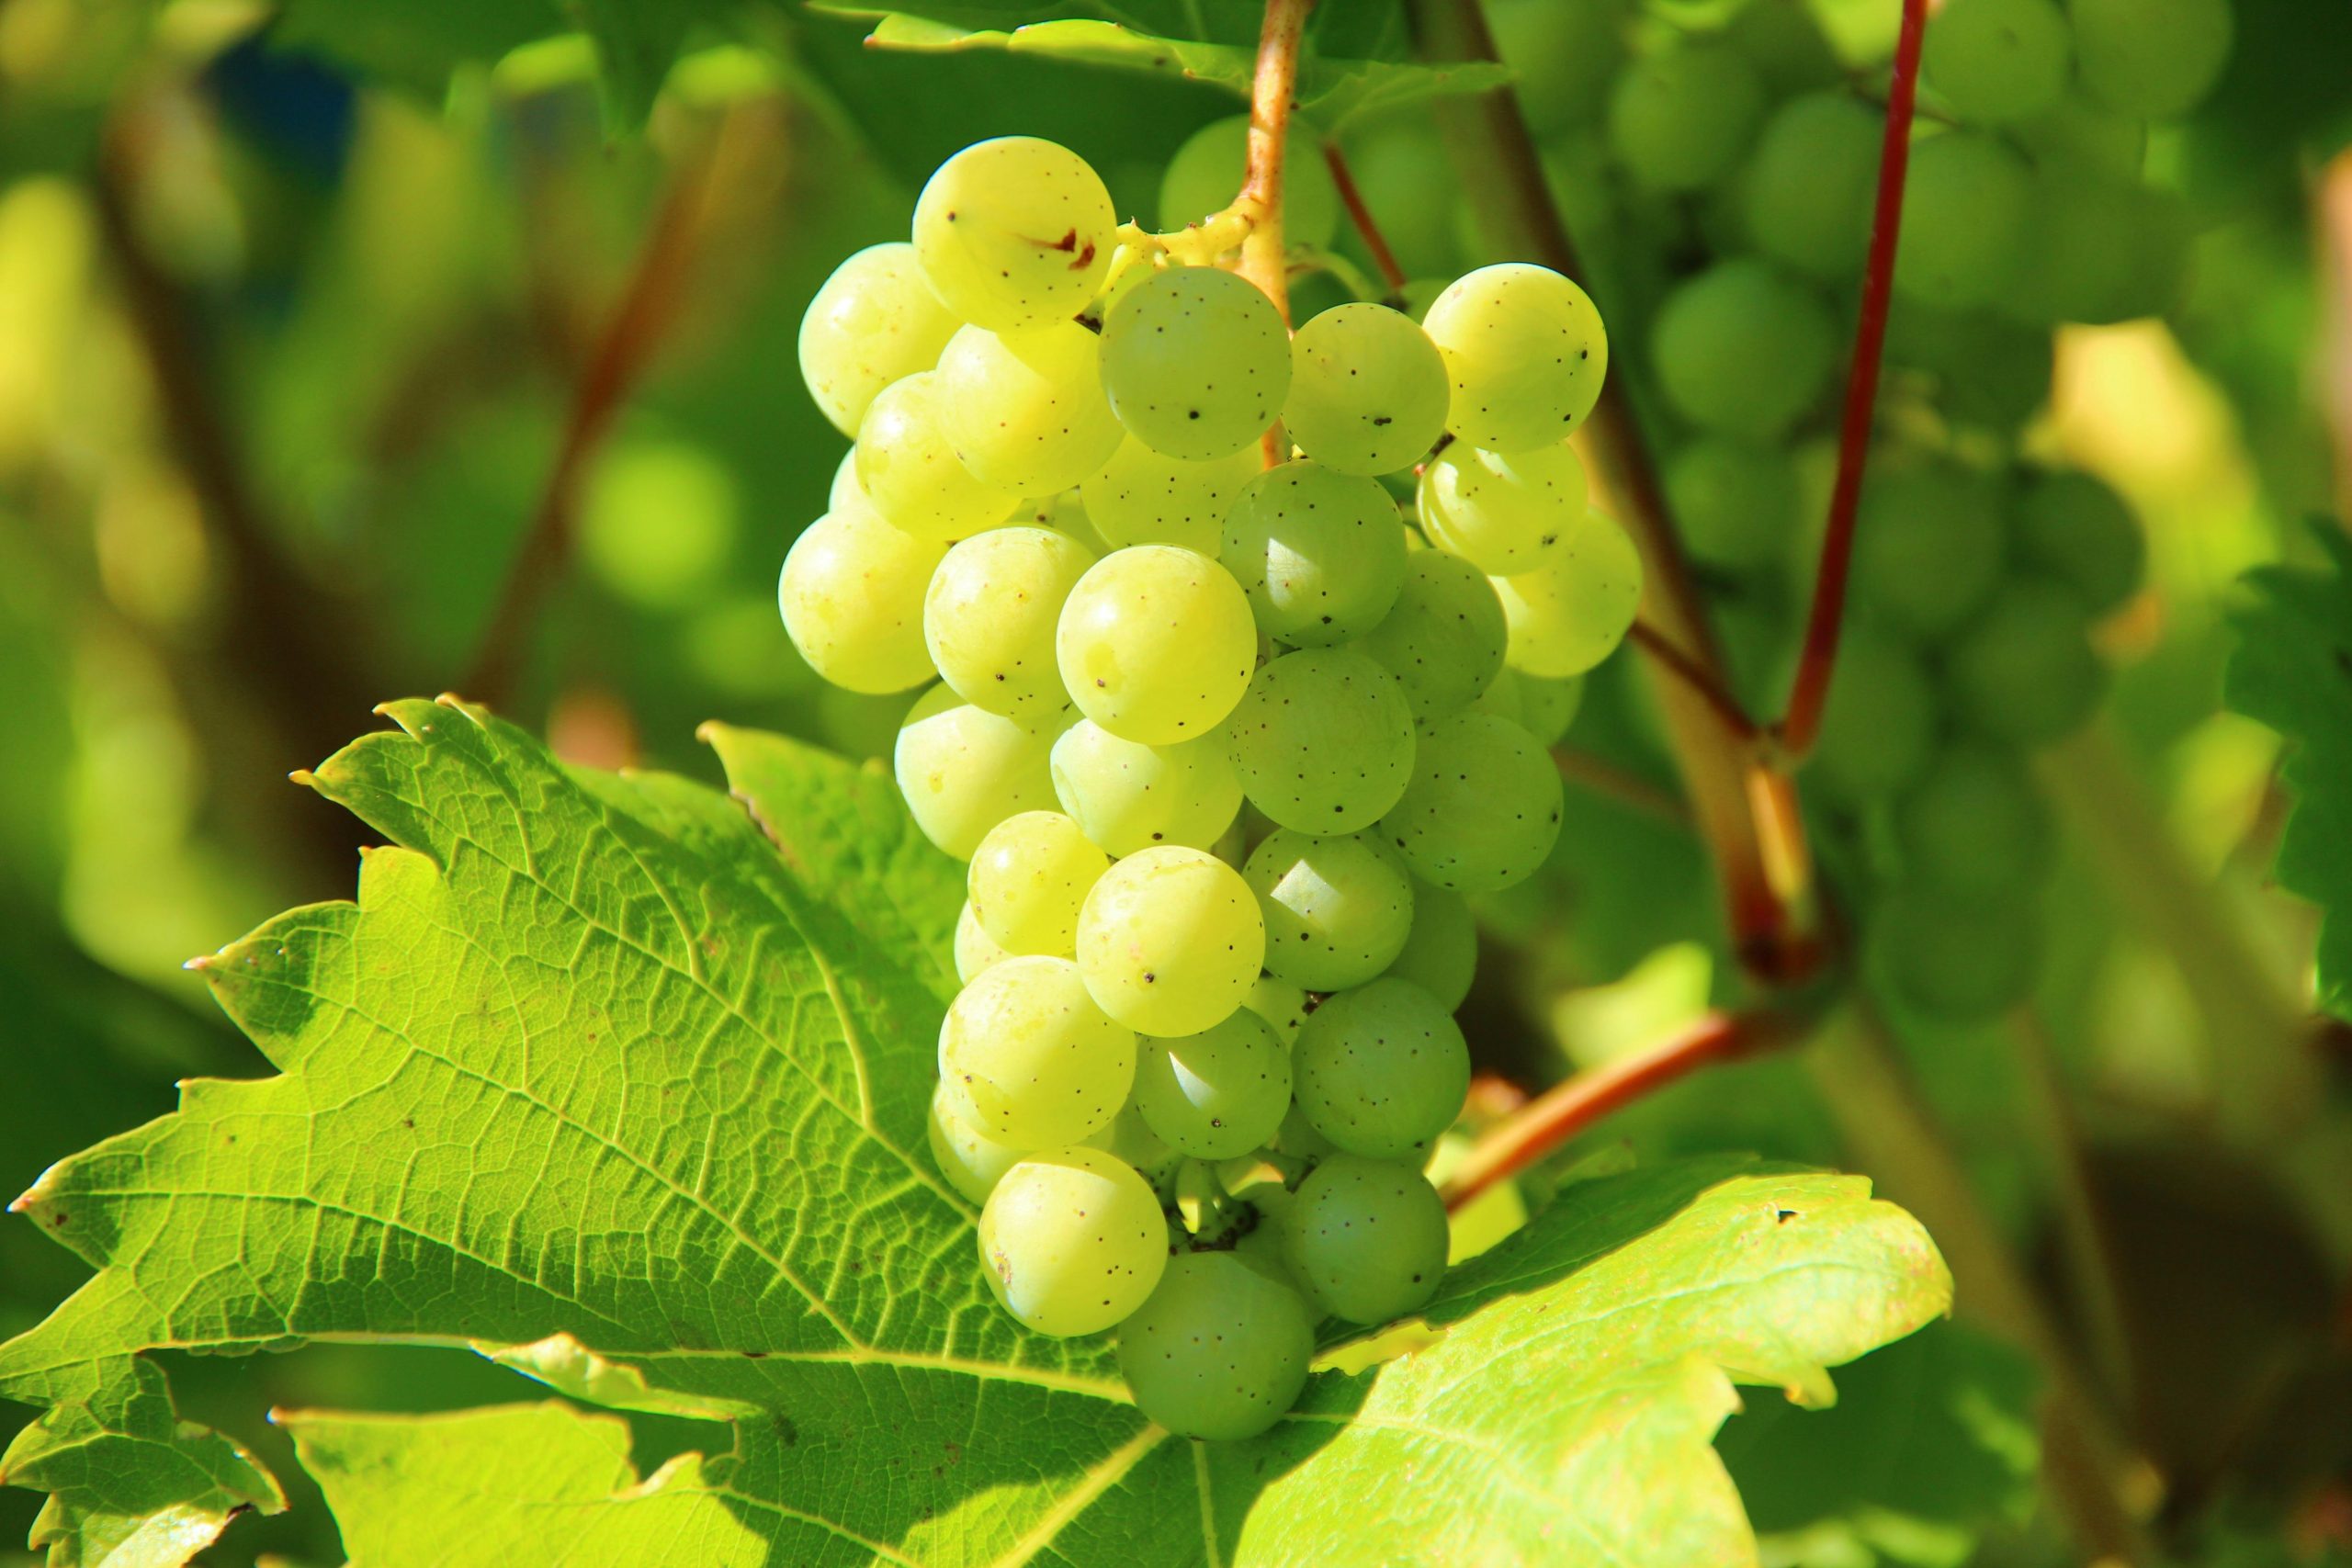
Imagine transforming a little corner of your backyard into a vineyard. No extensive farmland is required—just a sunny patch and a bit of teamwork. From planting to watering to harvesting, there’s a role for everyone, making this project perfect for families looking to spend more time outdoors together. Kids can get their hands dirty with planting, while adults can take on the task of pruning and tending to the vines as they grow. Each season brings new lessons and new tasks, turning this project into a shared experience that everyone can contribute to.
Grapes don’t demand constant care, but they do require consistency. This rhythm of tending and waiting teaches patience, and the sight of those little green shoots transforming into clusters of grapes brings a sense of accomplishment. Curious about the steps involved? Here’s why a backyard vineyard could be a family project worth exploring.
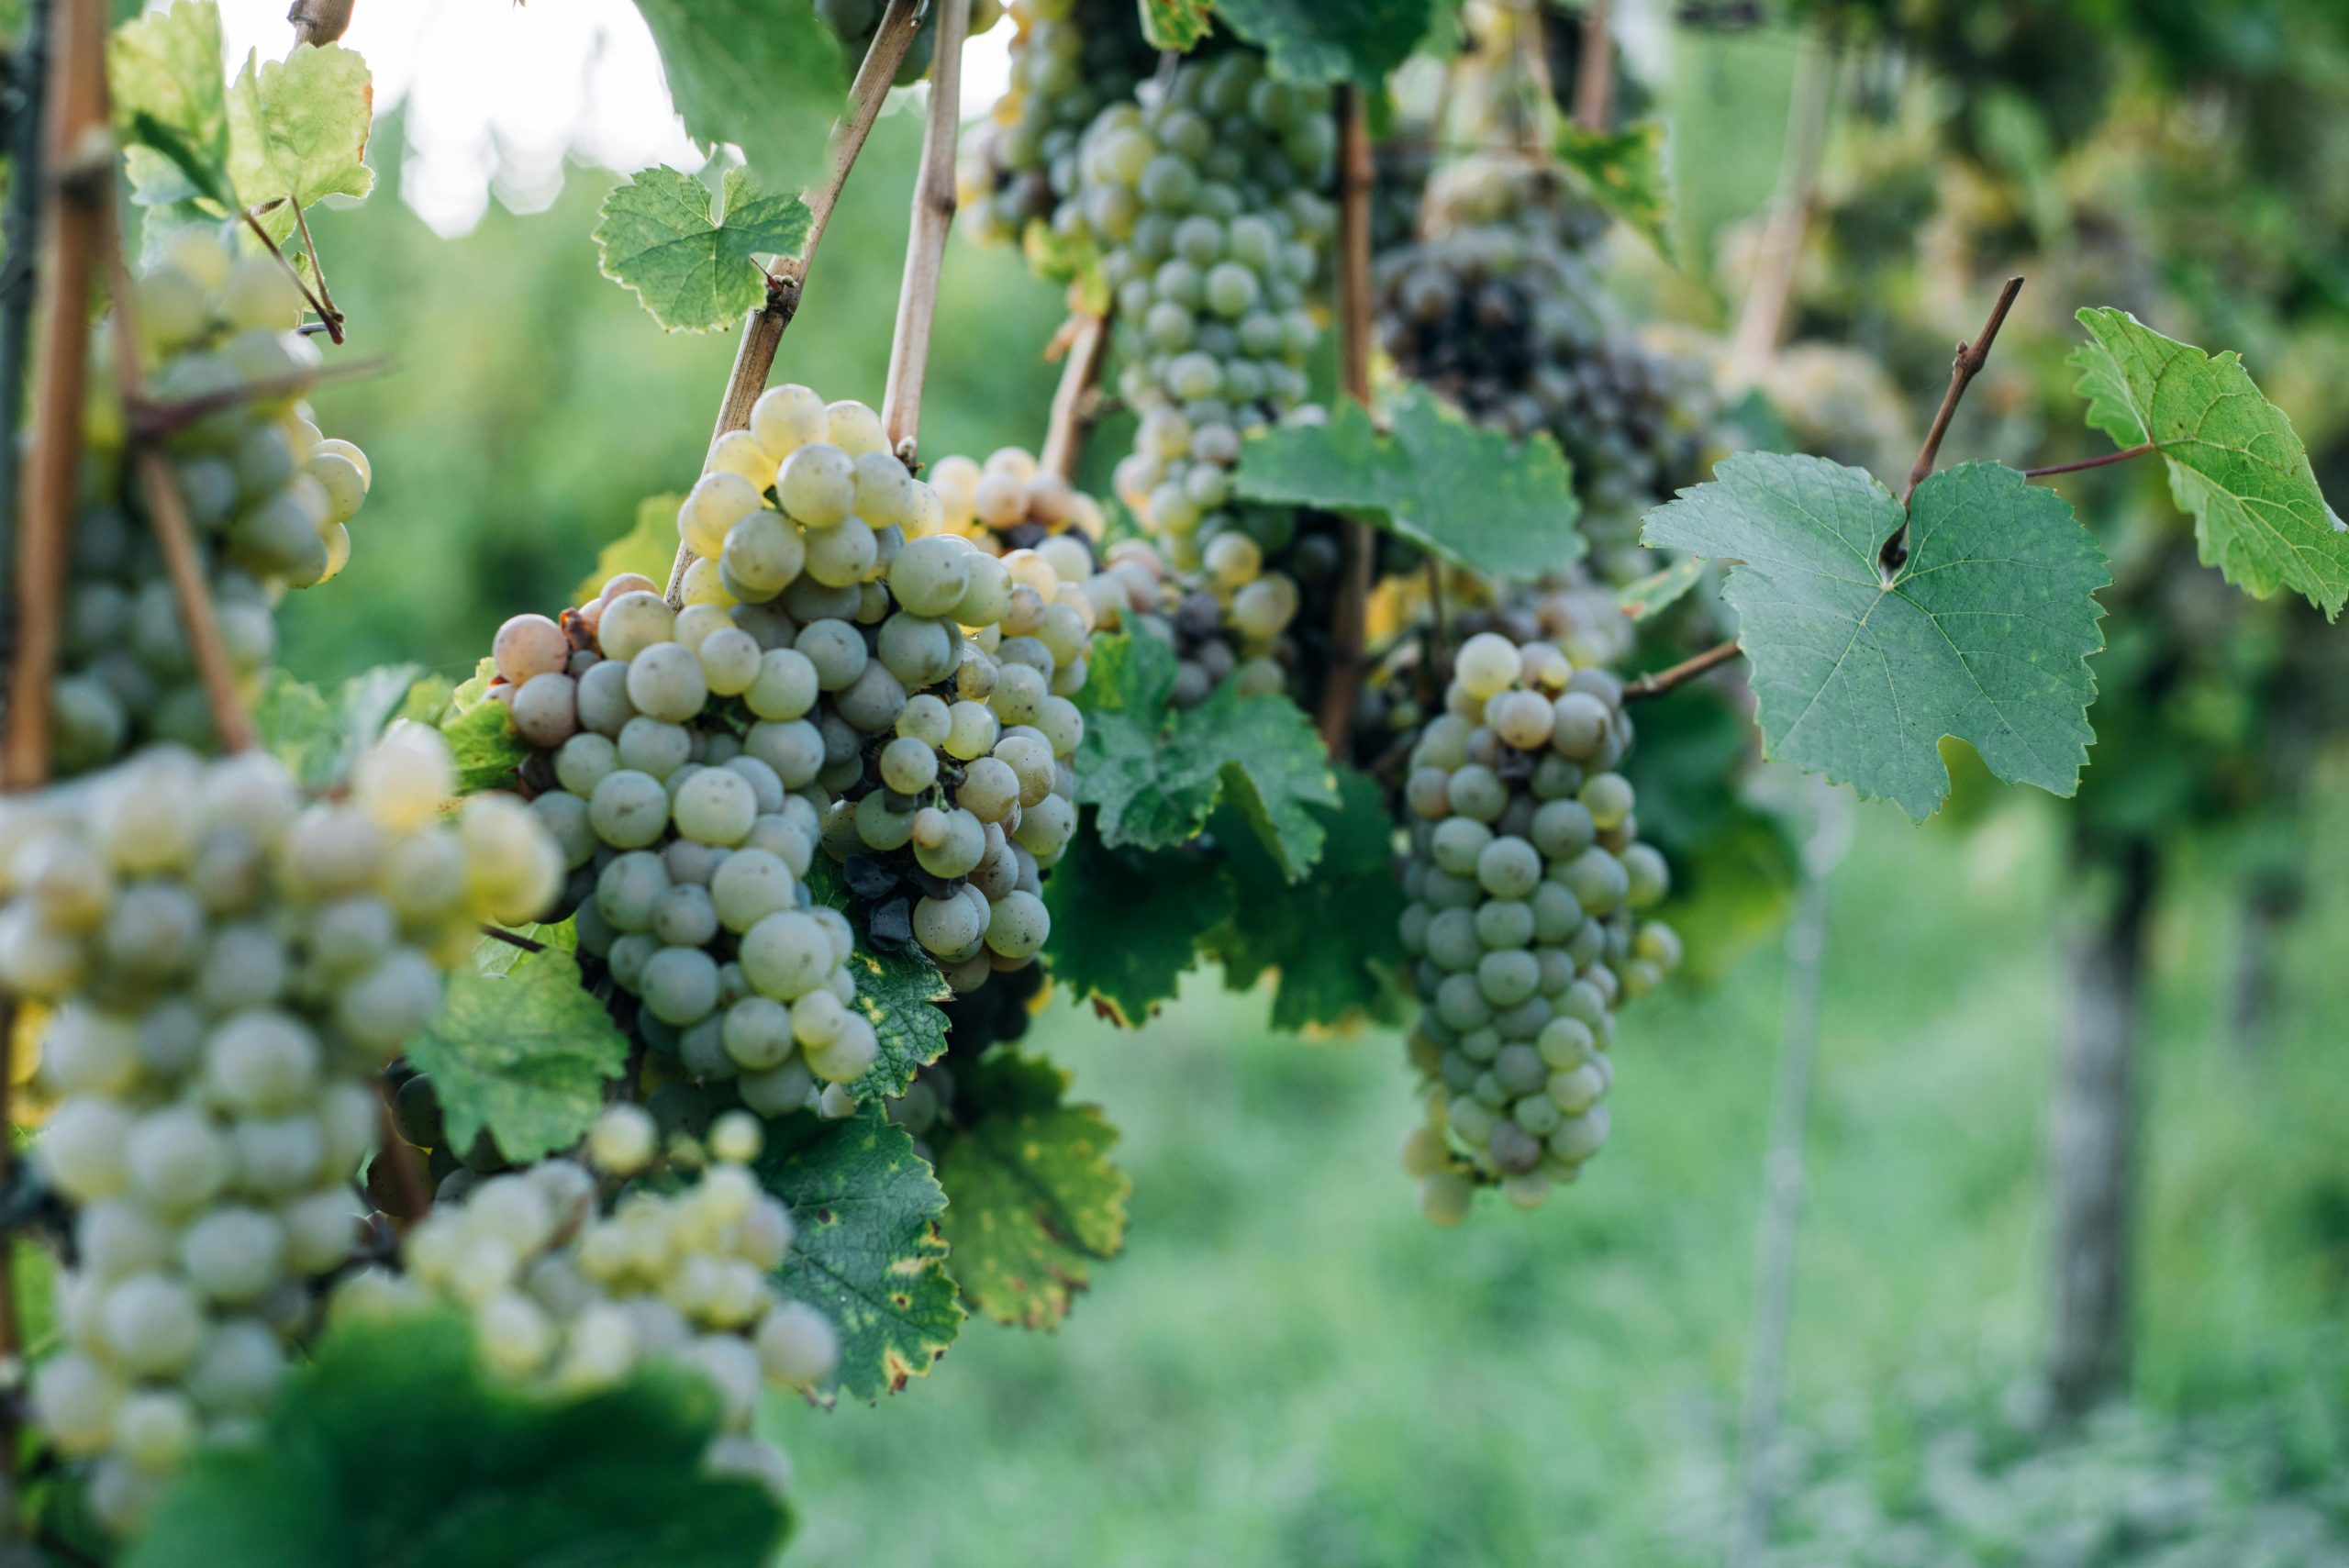
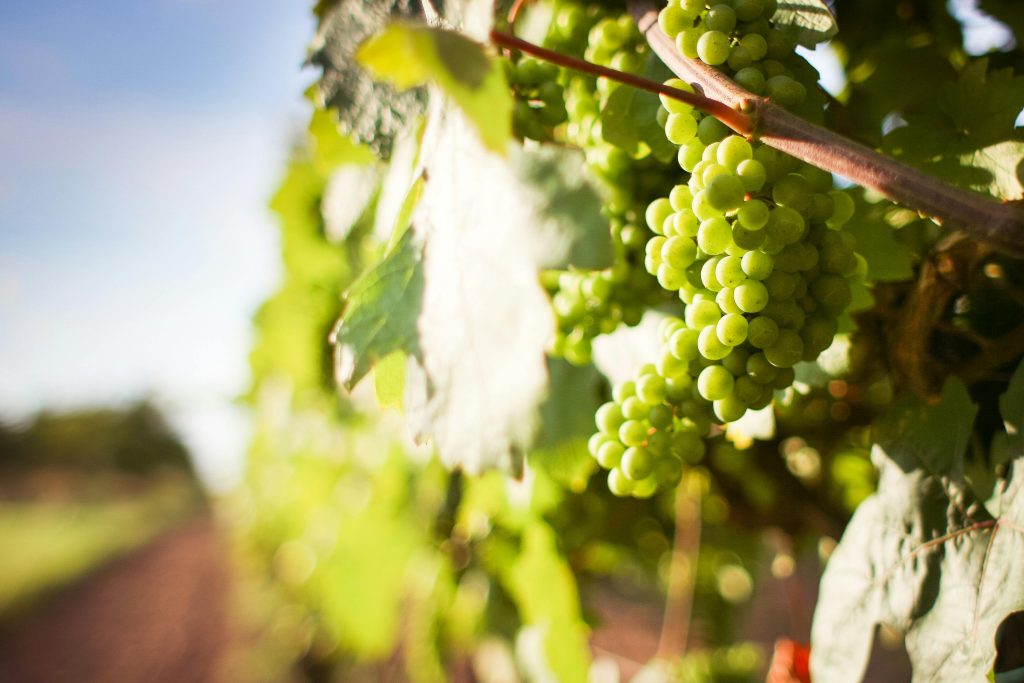
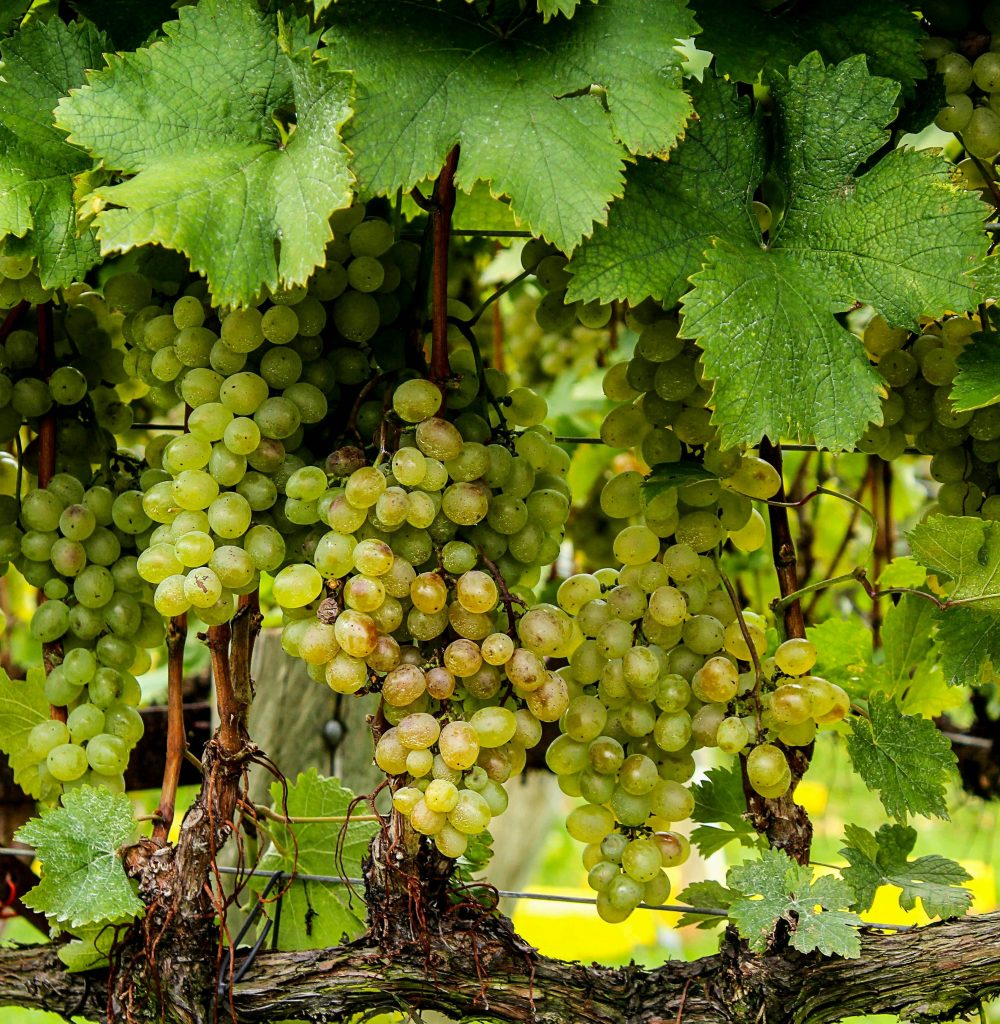
The Charms of Chardonnay: A Grape with Many Faces
When it comes to versatility, few grapes can match the charm of Chardonnay. This popular white grape has traveled the world, adapting to different climates, soils, and winemaking techniques. Chardonnay can embody flavors from crisp green apple and lemon to creamy vanilla and hazelnut, depending on how it’s grown and made. Whether your style is bright and zesty or full-bodied and buttery, Chardonnay has something for every palate.
Imagine that your backyard vineyard focuses on Chardonnay vines. The possibilities with this grape are as varied as your tastes. If you love a fresh, fruity wine, you might choose techniques that emphasize its natural acidity. Or, if you prefer a richer wine, experimenting with small oak barrels could add a smooth, buttery character. For more inspiration on how Chardonnay can match any mood, check out “Chardonnay: A Grape for Every Mood.”
Introducing Jongieux, Joven, and Botrytized: Wines for Every Occasion
Wine has its own language, and part of the excitement is learning the unique terms and traditions from different cultures. Let’s look at a few terms that add richness to the world of wine.
- Jongieux: This small region in France’s Savoie produces delightful wines. Often they are affordable and approachable, that reflect the character of their mountain surroundings. Known for fresh, vibrant whites, Jongieux wines are perfect for casual gatherings and family-friendly meals.
- Joven: This Spanish term, meaning “young,” refers to wines meant to be enjoyed early. Joven wines, typically fruity and uncomplicated, are perfect for beginners and those who appreciate wine’s lighter side. They’re also great choices for anyone trying their hand at home winemaking—like from that backyard vineyard—since these wines don’t require aging to be enjoyed.
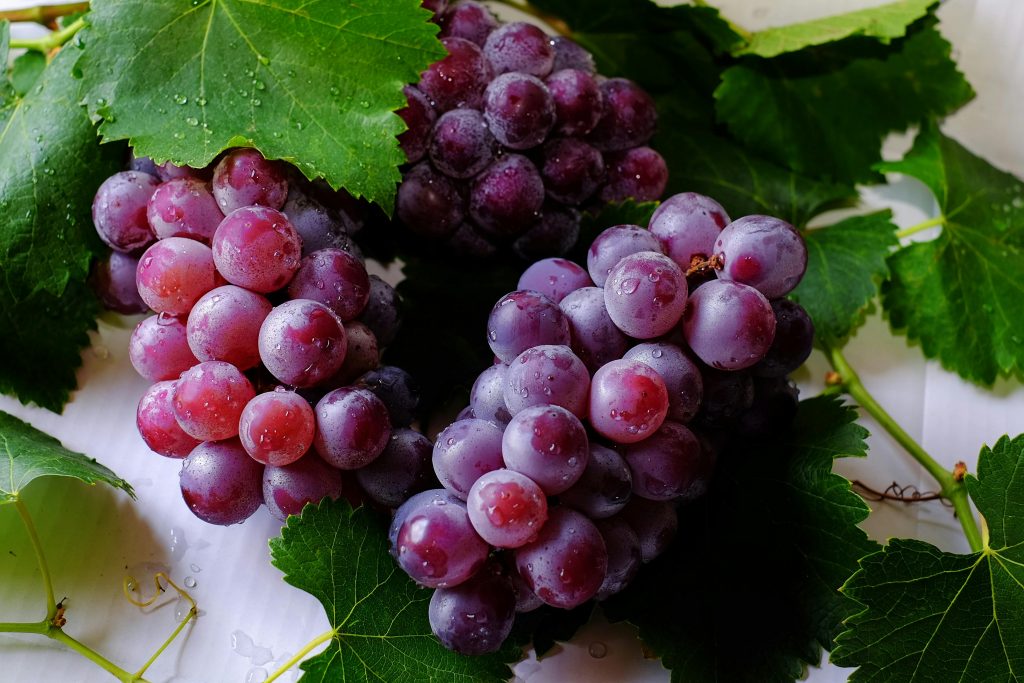
- Botrytized: For those interested in the art of winemaking, botrytized wines offer a unique twist. When grapes are “botrytized,” they’ve been affected by a specific type of mold known as “noble rot,” which concentrates their sugars and intensifies their flavors. These wines, often sweet and golden, highlight the magic of winemaking and the natural surprises that vineyards can bring.
Finding Your Own Wine Path
Whether it’s cultivating a few vines in the backyard, exploring classic grapes like Chardonnay, or learning about the intricate world of wine terms. The journey into wine can be both relaxing and enriching. Starting small, like with a backyard vineyard, helps you connect with the earth and share the excitement of each new season with family. And as you explore different wines, regions, and styles, you’ll find endless opportunities to appreciate what nature—and a little patience—can create.
Wine doesn’t have to be complicated. It can be as simple as planting a vine, watching it grow, and learning as you go. So why not start with a small project and see where the adventure takes you?